


Several City Modular Game Environment Workflow
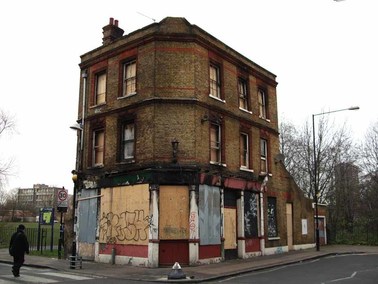
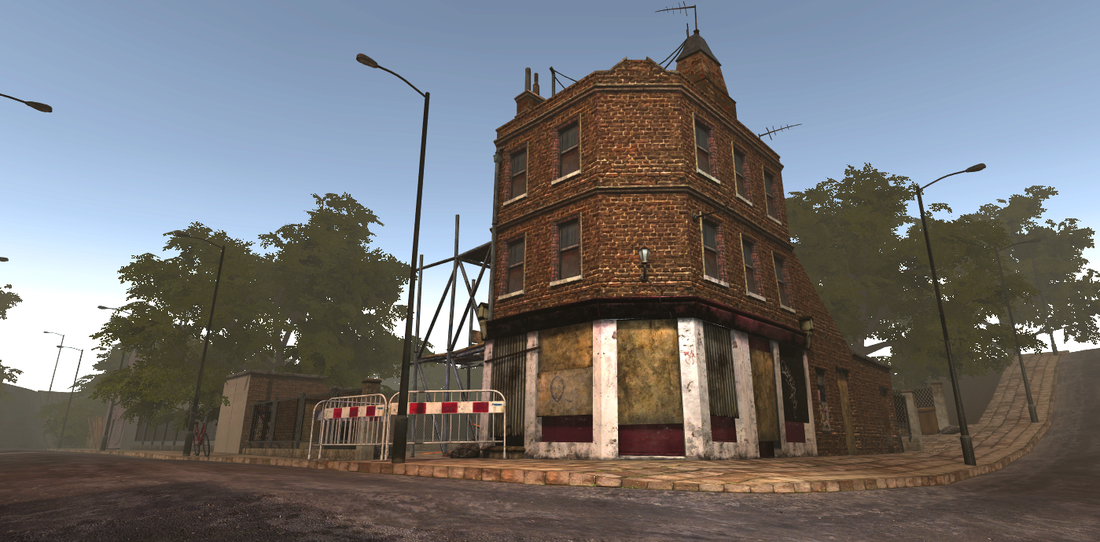
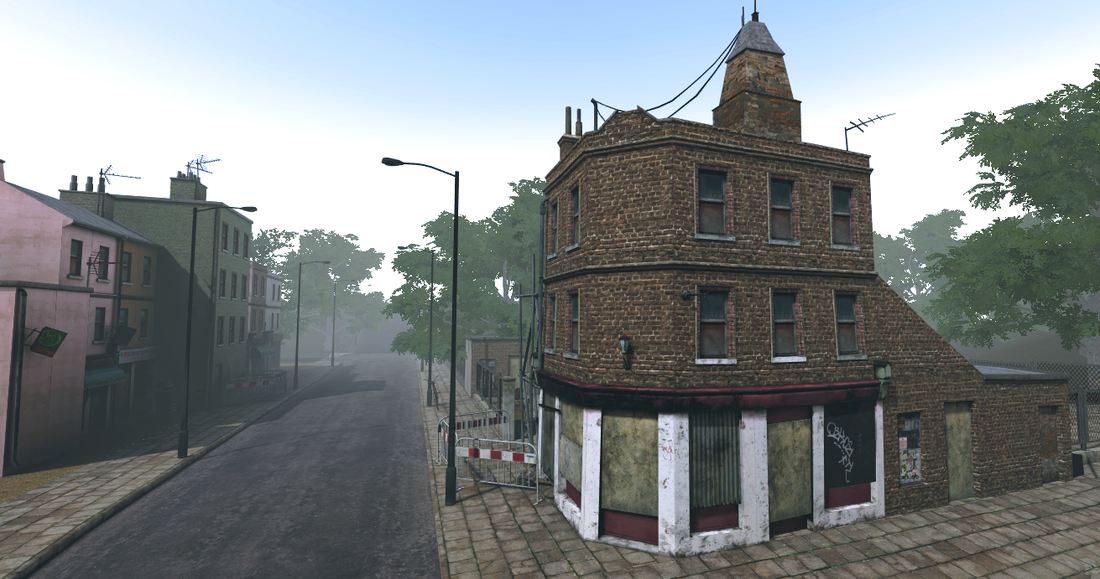
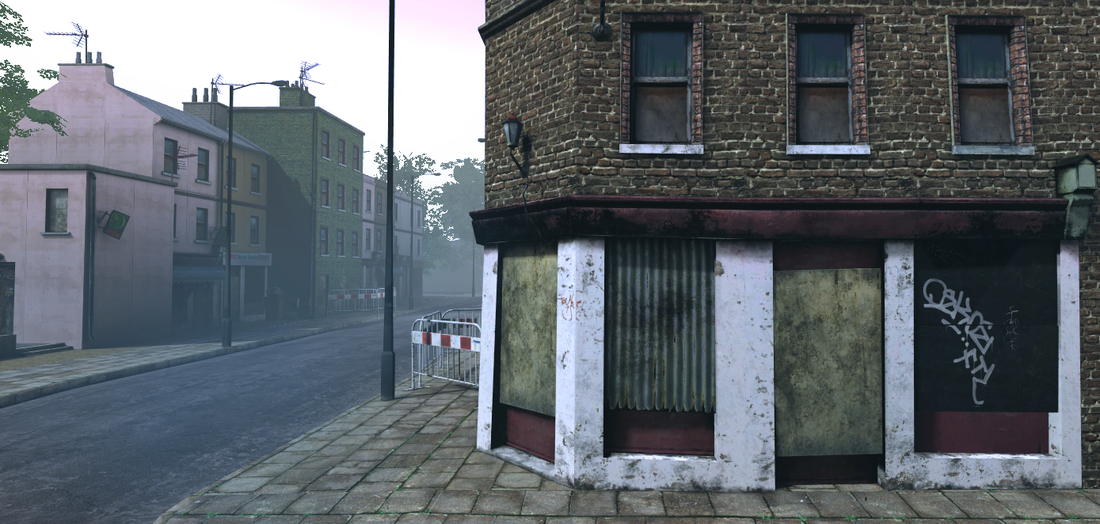
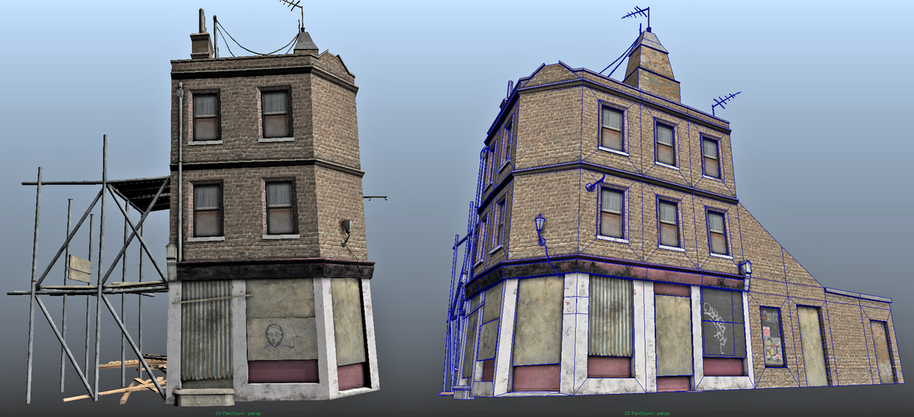
1.Referance.When creating environment for games we need to collect some pictures as a reference. I found a shot of building situated somewhere at east London so let's call it "East London Building".
|
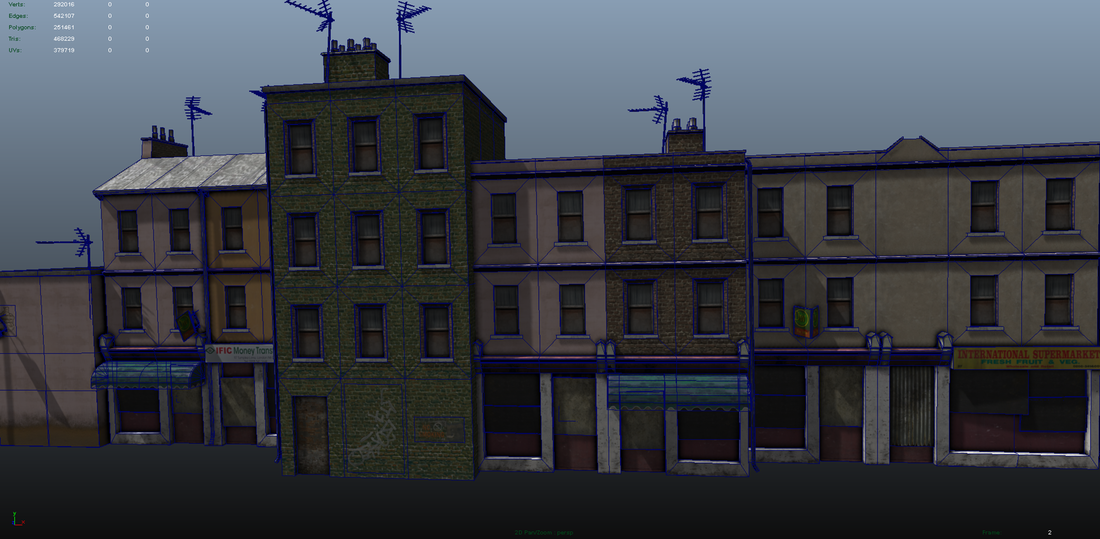
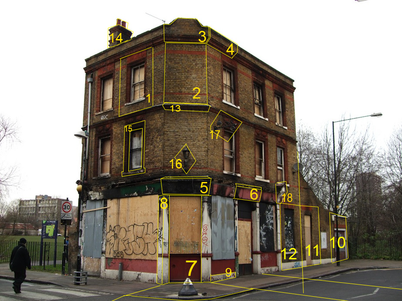
2. Modules and proportions. We want this building to be very recyclable so defining modular parts will be very handy. Later creating another buildings will be easy and save us a lot of time. Picture on the right shows how to define modules. We can think about it in terms of how many textures we can use depend of limitations on project. Now that we have all modules done we need to remember about proportions. Look at the man on the main picture and screen shot from Autodesk Maya , You can see how tall it our actor and get the idea of proportions.
|
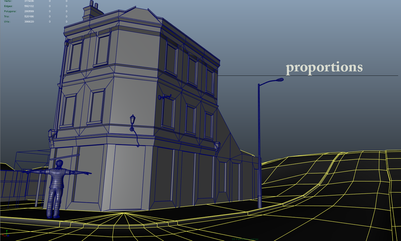
We have all modules done we need to remember about proportions.
Look at the man on the main picture and screen shot from Autodesk Maya , you can see how tall is our actor. Now you get the idea of proportions.
Look at the man on the main picture and screen shot from Autodesk Maya , you can see how tall is our actor. Now you get the idea of proportions.
3.Textures and materials.
This is another very important step. I would say extremely important, why? because at this stage we have to look at the project description and find information about camera view angle and distance inside game. How much player will see is a key information when building geometry and creating textures.
For example if we have game with TOP DOWN VIEW and far distance camera, there is no need to create highly detiled geometry so one texture 1024x1024 will be just fine for our East London Building.
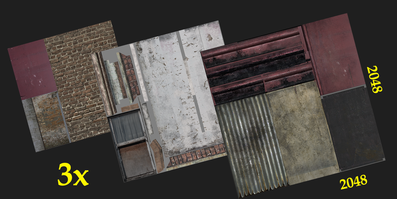
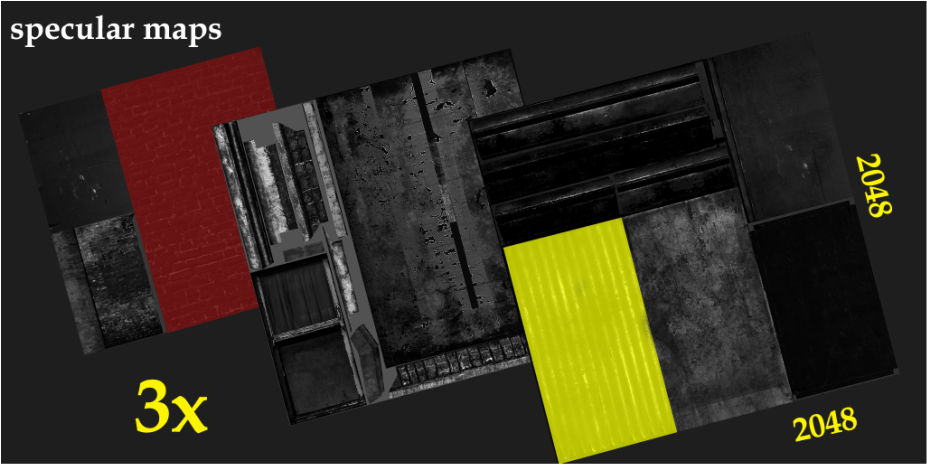
However, for this project we decided to have TPP (Third Person Perspective) camera, so we need a lot of details as the player will see quite a lot. I decided to use 3 textures 2048x2048, but I believe two textures 2048x2048 could be also fine for this camera view. It is often your game budged decision how many textures we can use. Creating 3 textures for this building will give me almost unlimited number of variations and opportunity to fulfil a big city just by tweaking this 3 textures and using only the same modular parts.
We have colour maps but in order to define materials we need to adjusts secularity. To do this turn your colour maps into grey images simply inside Photoshop by sliding saturation down to 0. Give more contrast using curve or even manually painting dark and white areas on your maps.
This is another very important step. I would say extremely important, why? because at this stage we have to look at the project description and find information about camera view angle and distance inside game. How much player will see is a key information when building geometry and creating textures.
For example if we have game with TOP DOWN VIEW and far distance camera, there is no need to create highly detiled geometry so one texture 1024x1024 will be just fine for our East London Building.
However, for this project we decided to have TPP (Third Person Perspective) camera, so we need a lot of details as the player will see quite a lot. I decided to use 3 textures 2048x2048, but I believe two textures 2048x2048 could be also fine for this camera view. It is often your game budged decision how many textures we can use. Creating 3 textures for this building will give me almost unlimited number of variations and opportunity to fulfil a big city just by tweaking this 3 textures and using only the same modular parts.
We have colour maps but in order to define materials we need to adjusts secularity. To do this turn your colour maps into grey images simply inside Photoshop by sliding saturation down to 0. Give more contrast using curve or even manually painting dark and white areas on your maps.
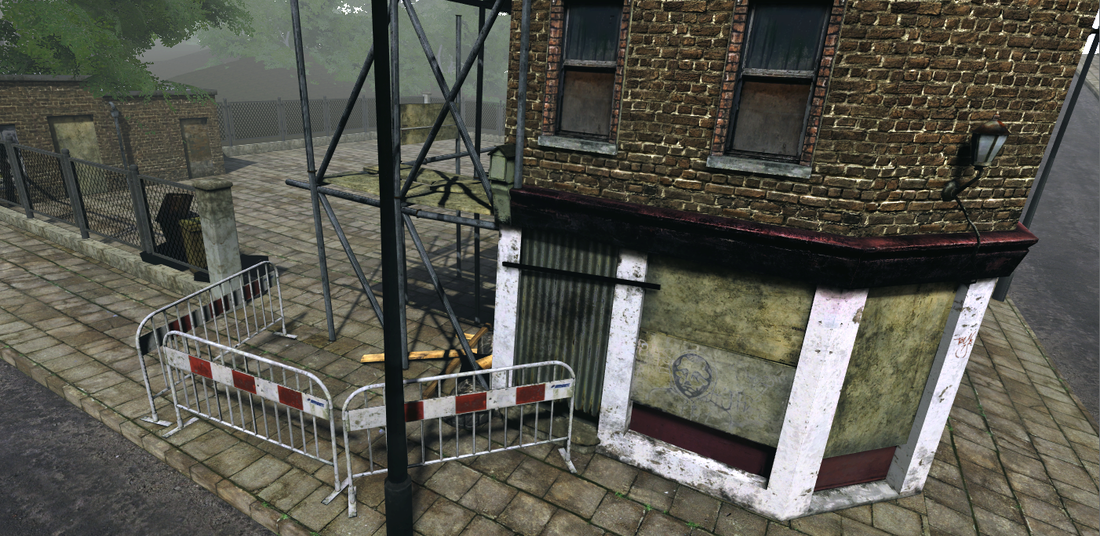
Look at the colour textures above and area marked on specular maps. You can notice that in area marked on red we have a brick. Brick in most cases in real life doesn't have very high secularity so specular map should be rather dark.
Yellow colour is marked on metal which is very reflective and has some secularity. When creating specular map for metal you have to ask your self what kind of metal it is , maybe is very dirty, rusty and there is a lot of dust on it - in this case you can imagine " I will not see my reflection or it will be very blurry but when I touch it I will feel mostly smooth surface ". Now you know that specular map will be highly reflective only in some areas but not where is rust and dirt. The same apply to painted wood, painted concrete and rough wood and so on.
Yellow colour is marked on metal which is very reflective and has some secularity. When creating specular map for metal you have to ask your self what kind of metal it is , maybe is very dirty, rusty and there is a lot of dust on it - in this case you can imagine " I will not see my reflection or it will be very blurry but when I touch it I will feel mostly smooth surface ". Now you know that specular map will be highly reflective only in some areas but not where is rust and dirt. The same apply to painted wood, painted concrete and rough wood and so on.
Normal maps. Again depend of your camera you might need normal maps or not at all. Analogously we need normal maps if we have a close view camera on geometry and we don't need them if player will never see it. Therefore again this is something to consider as normal maps does use extra RAM and have a an impact on game performance. We can not store normal maps in colour texture alpha channel like specular maps so only main actors will use them .
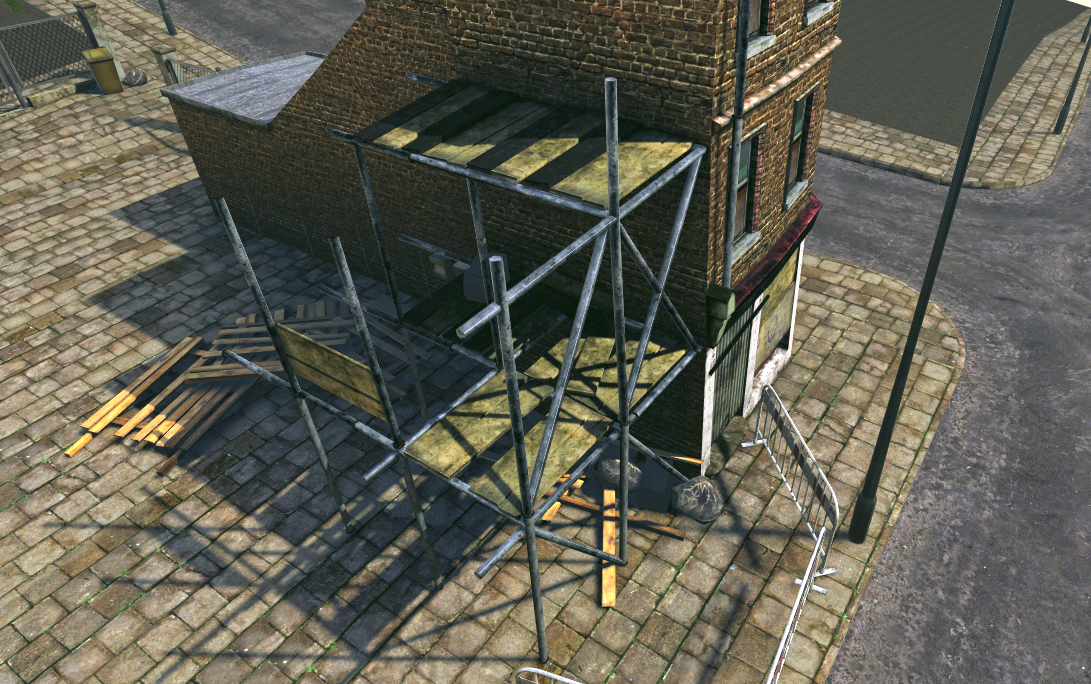
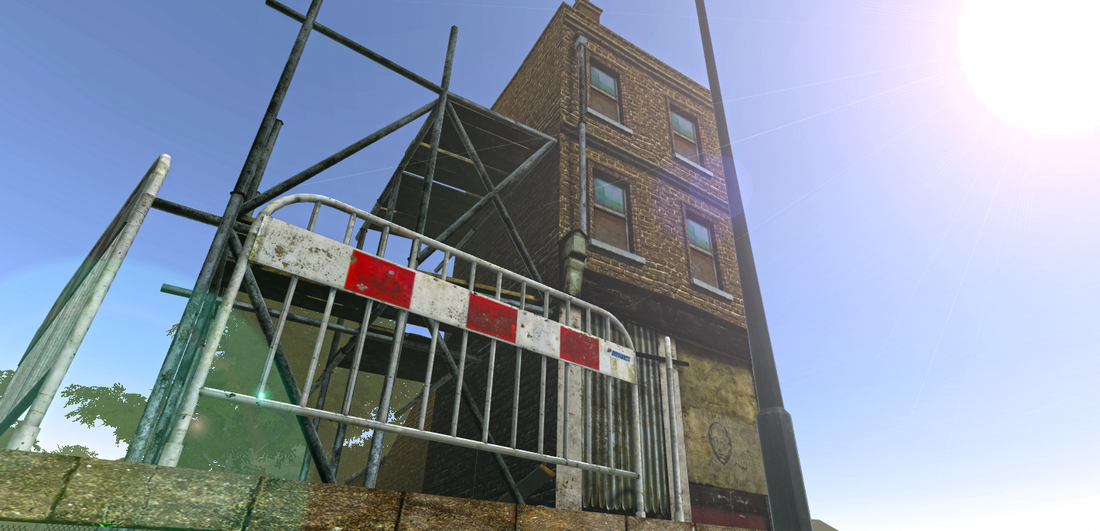
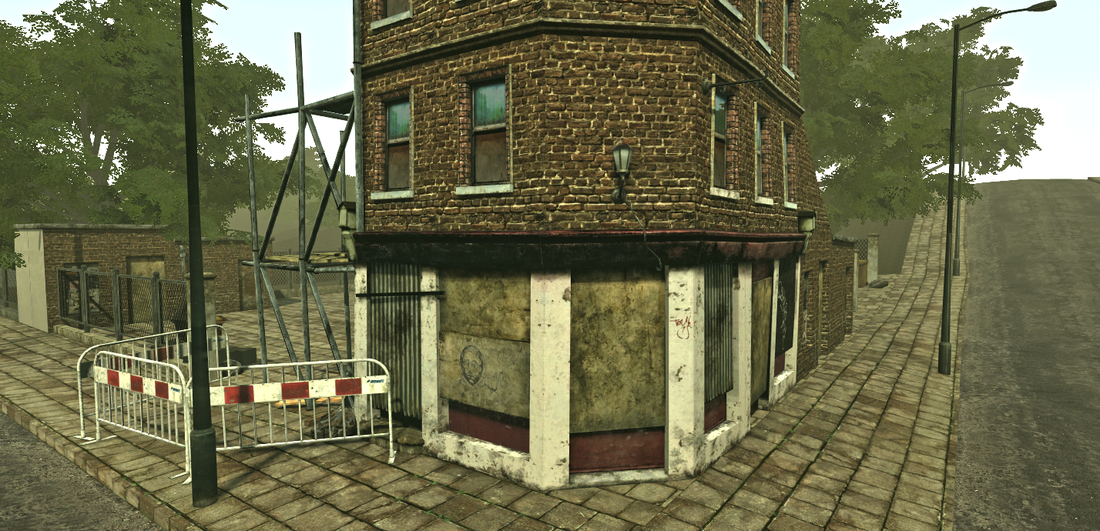
4. LOD details and silhouette.
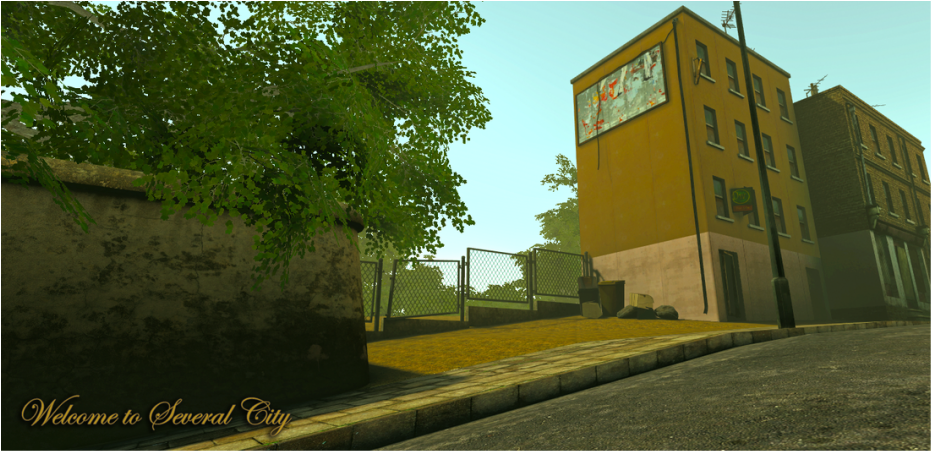
Again look for our main image. Building doesn't look very appealing so I decided to add few details in order to improve silhouette. In TPP game camera player will recognize it even from far distance. Another part of details was added with few decals textures.
6. Unity 3d. Export fbx.
Again look for our main image. Building doesn't look very appealing so I decided to add few details in order to improve silhouette. In TPP game camera player will recognize it even from far distance. Another part of details was added with few decals textures.
6. Unity 3d. Export fbx.
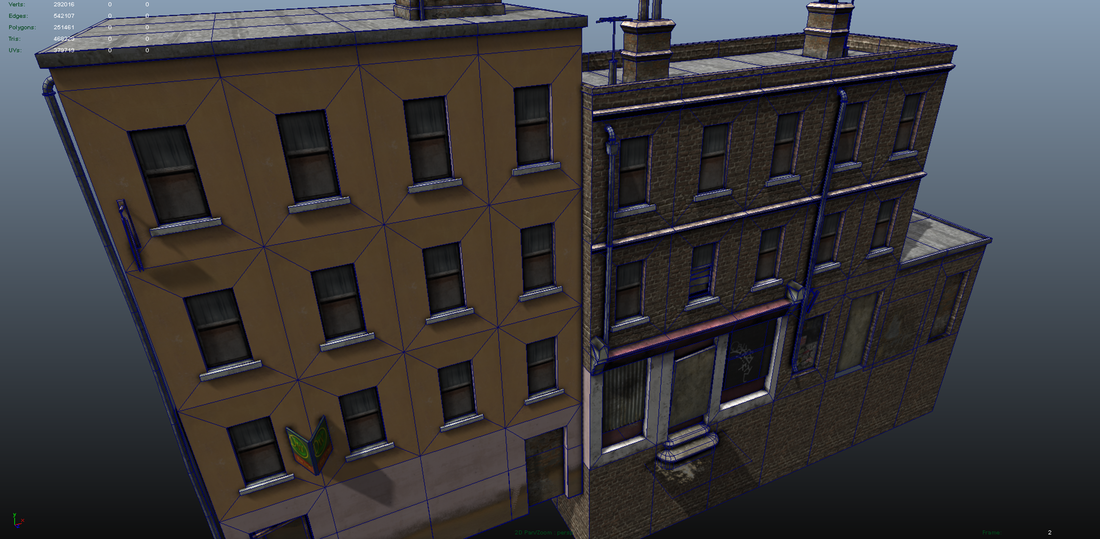
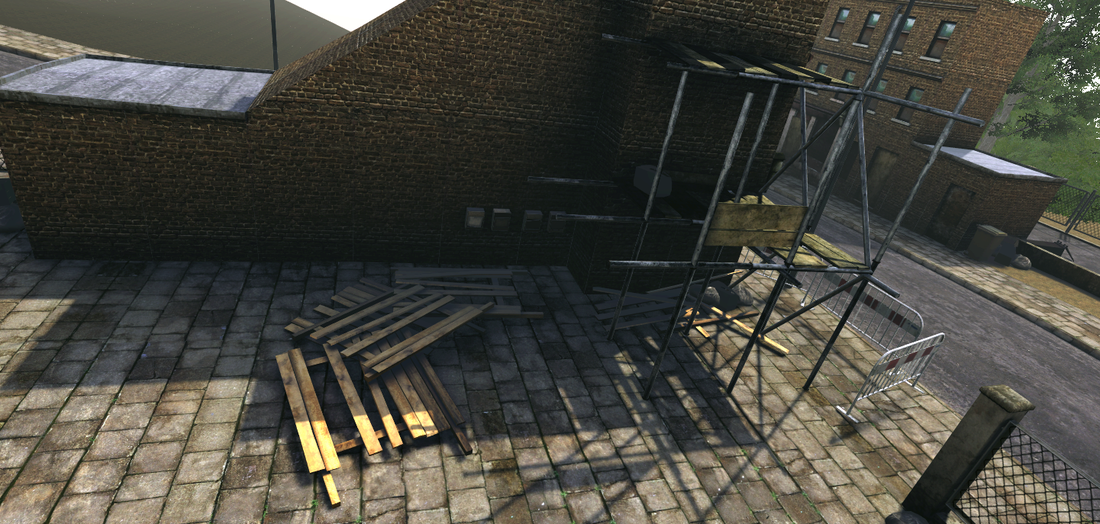
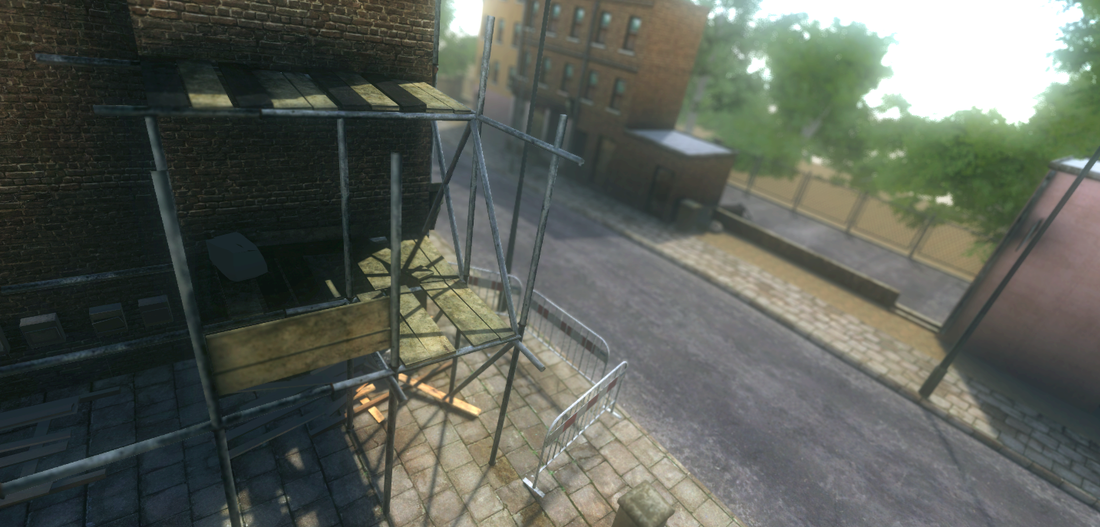
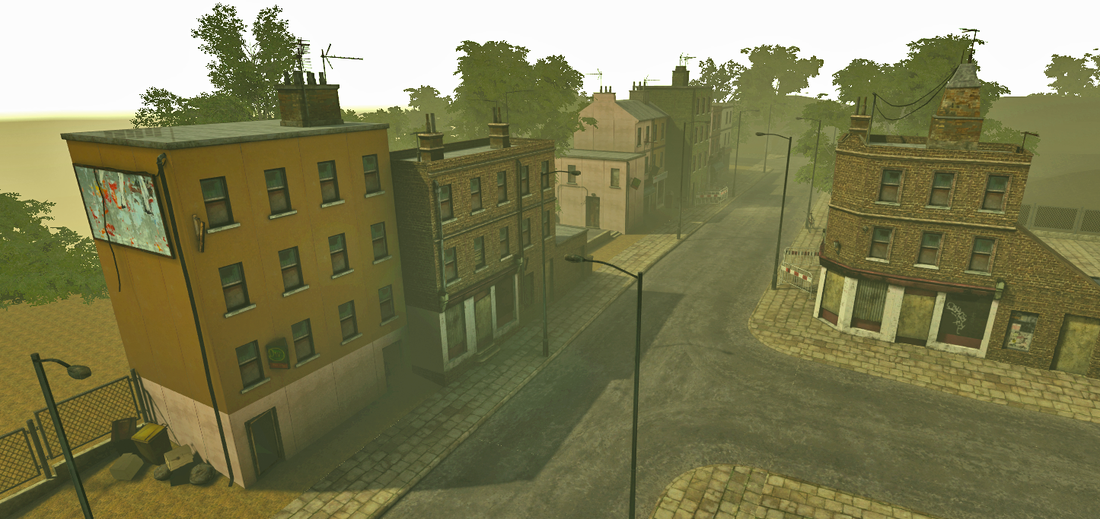
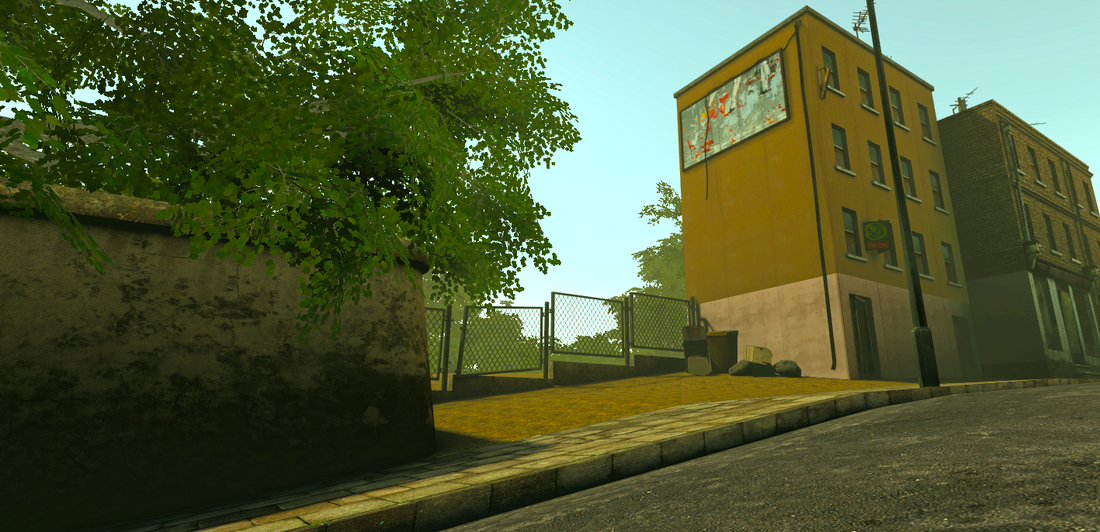
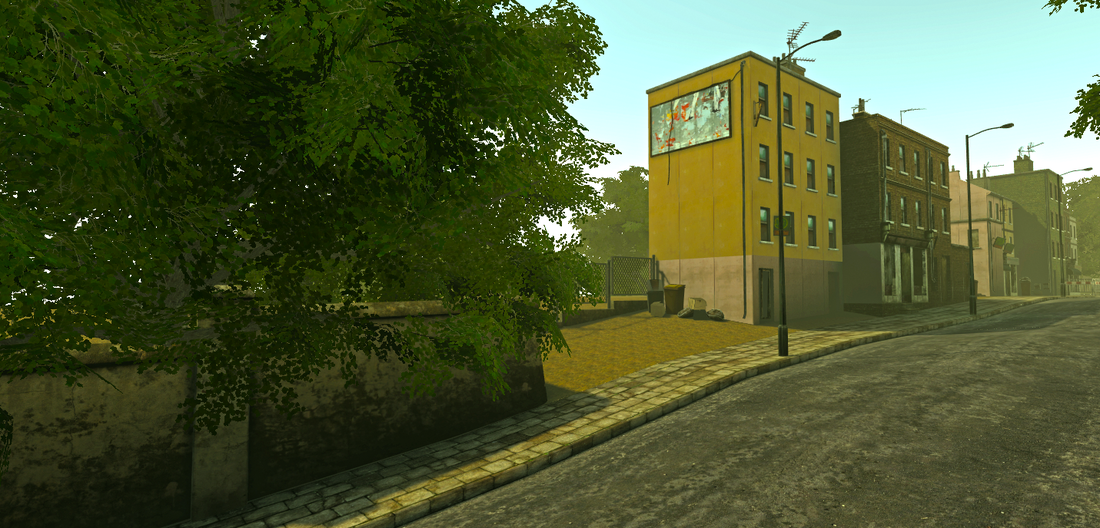
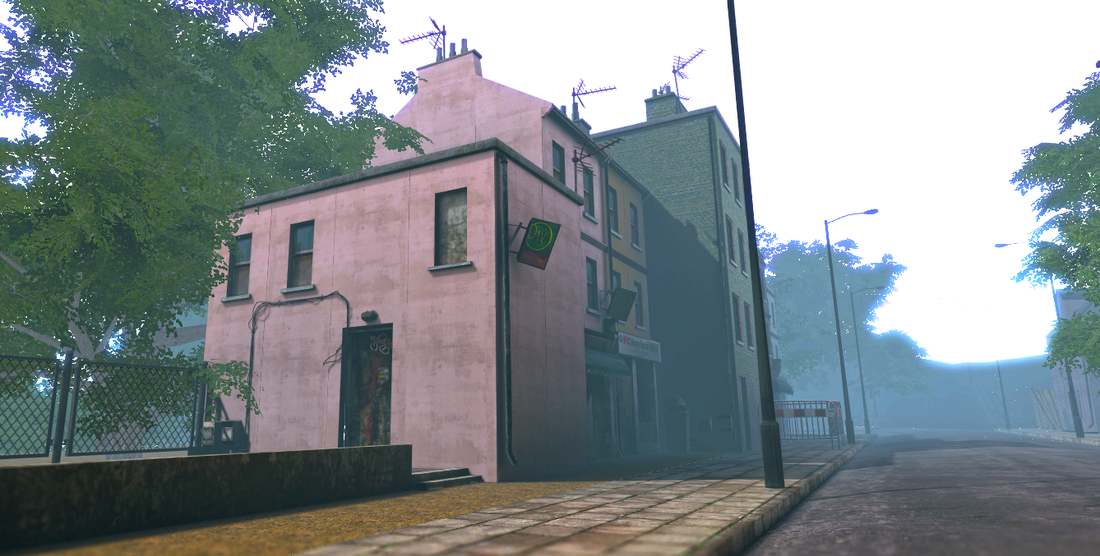
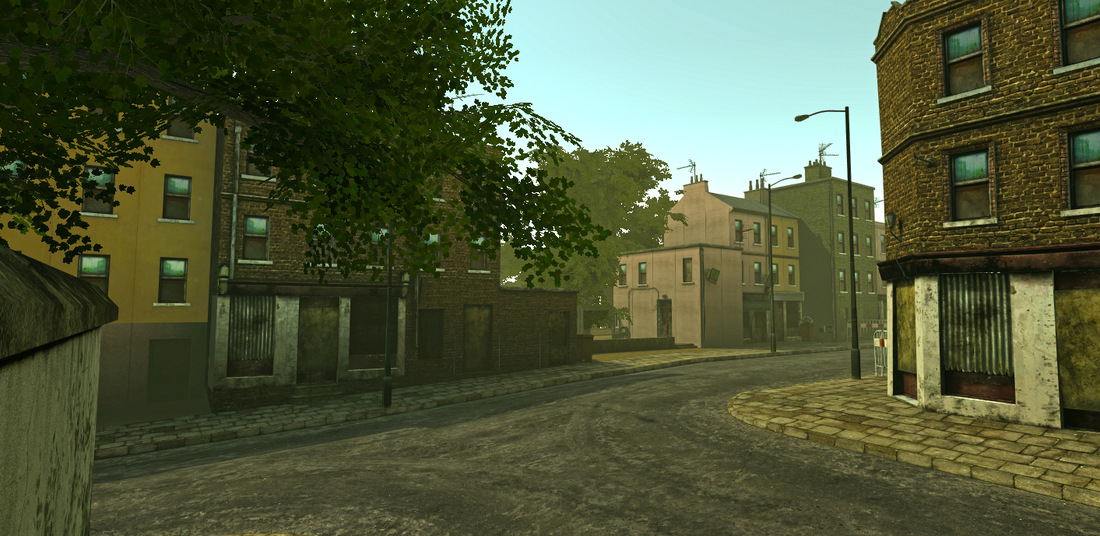
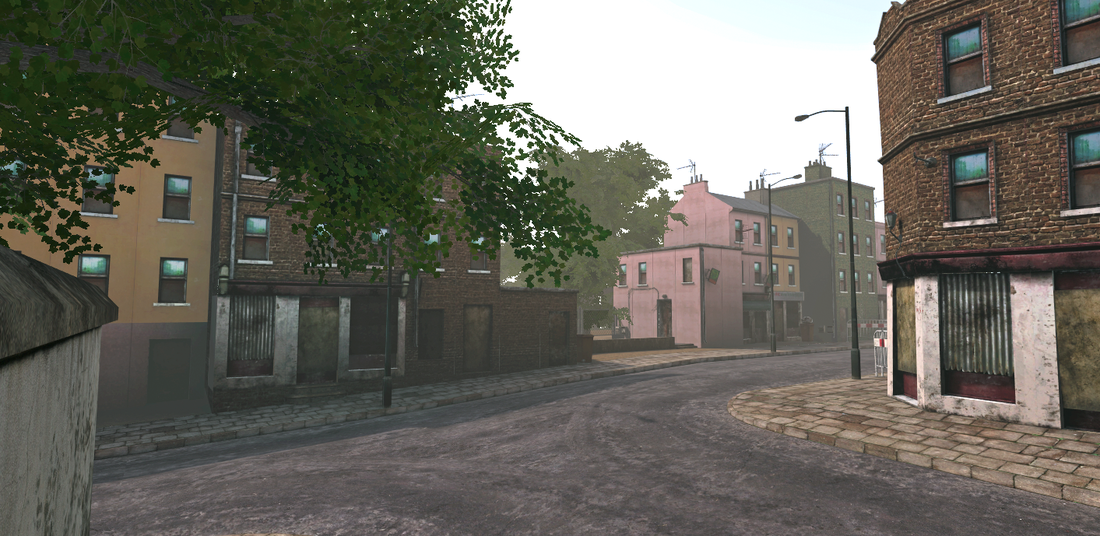
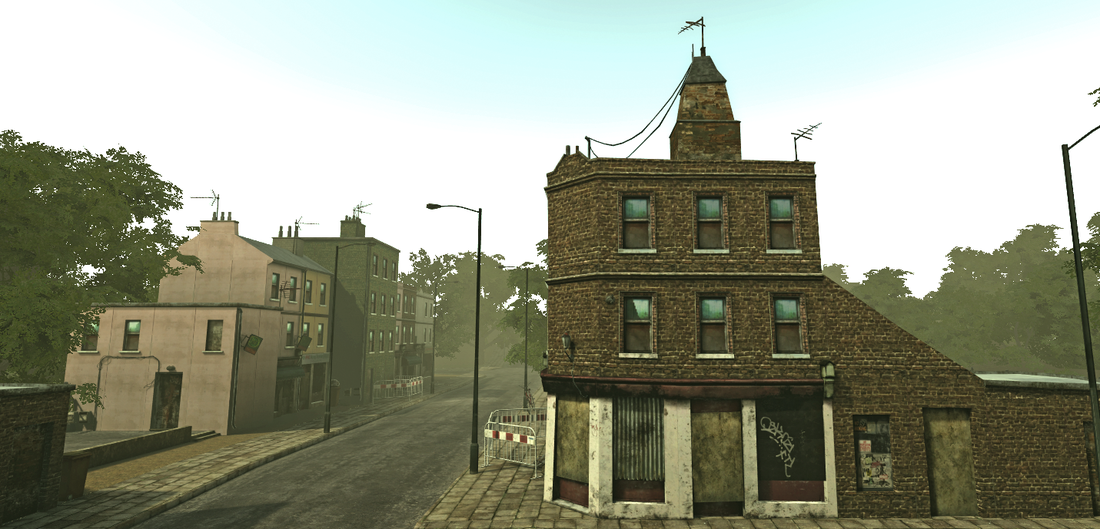
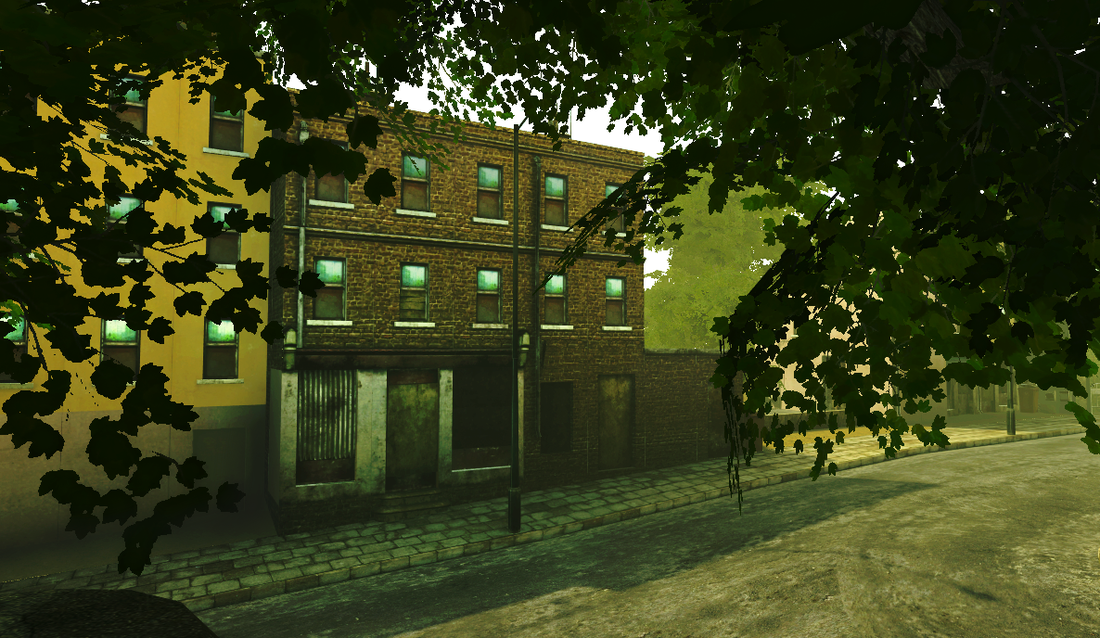
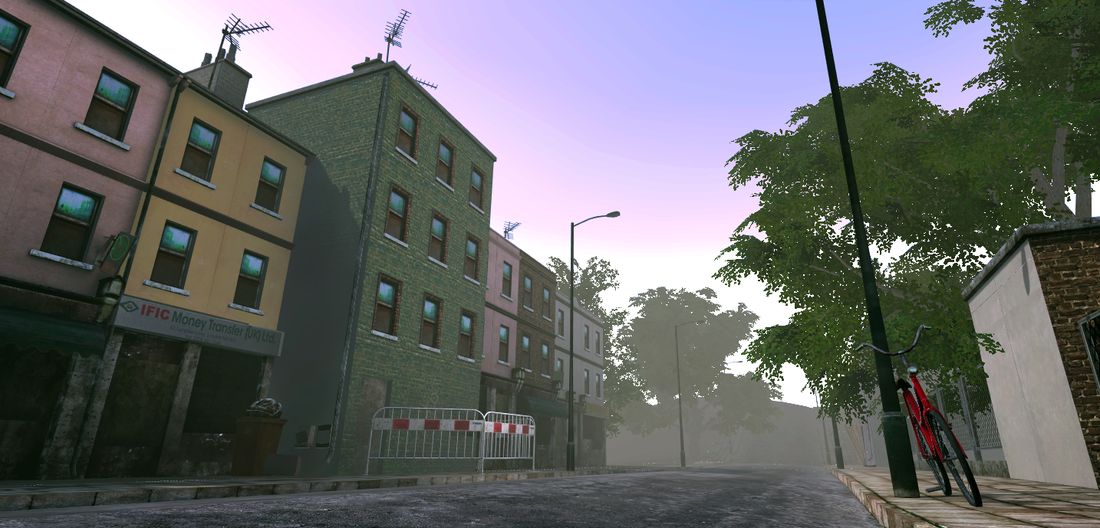
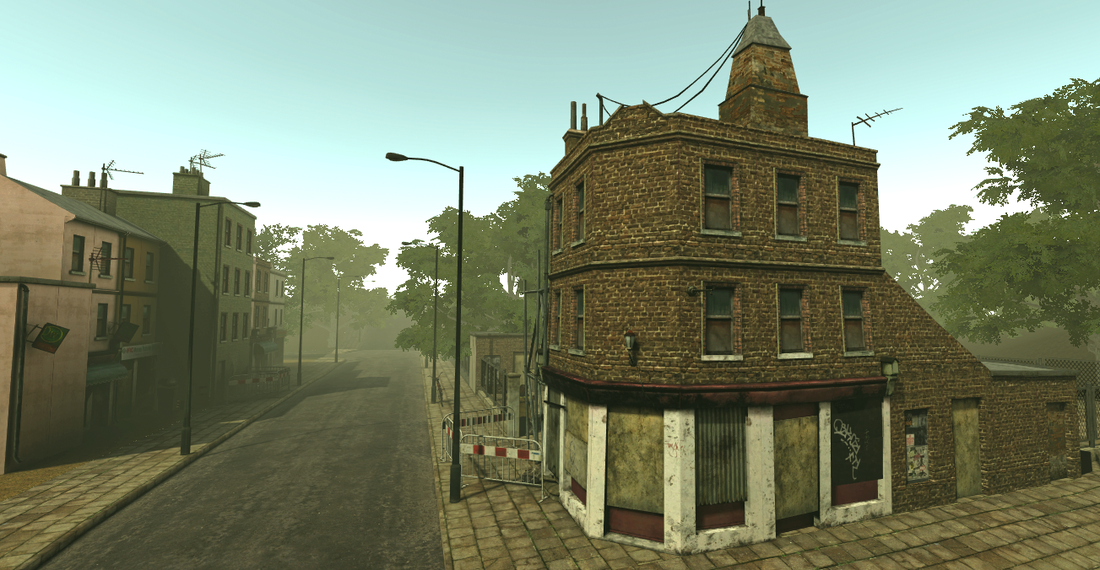
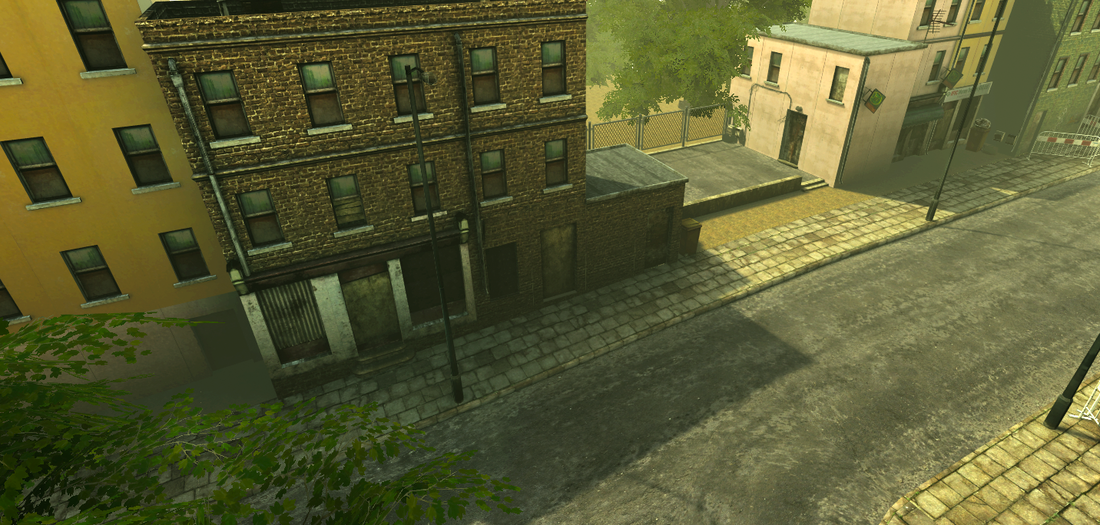
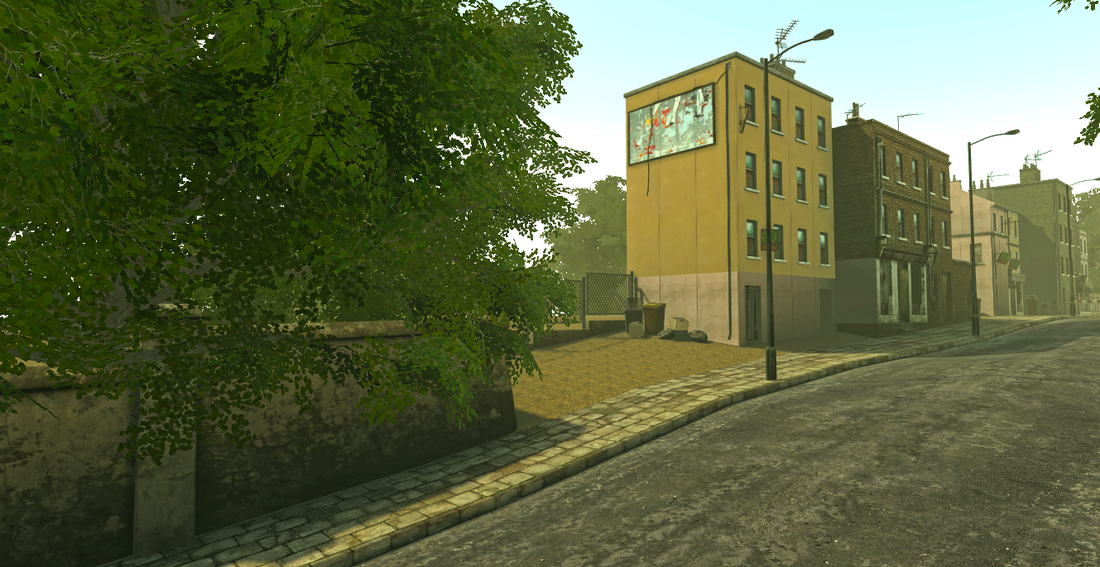
5. Modularity
We can see now how many different buildings we are able to create from the same modules.
We can see now how many different buildings we are able to create from the same modules.